
How to Stream Using Advanced Setup (RTMP)
ChurchSpring’s Live Stream Platform can work with your third-party advanced setup. This help document focuses specifically on the OBS configuration.
Before You Start
Make sure your live stream settings are configured correctly
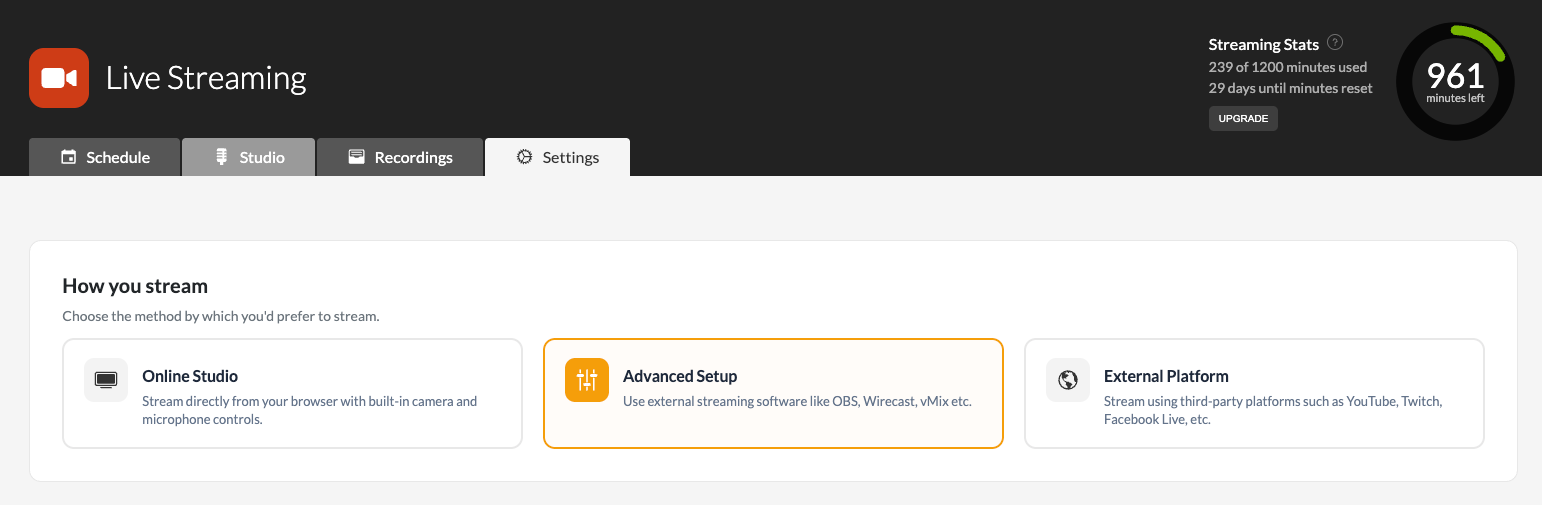
• Go to your Live Stream Settings tab and confirm the streaming method is set to Advanced Setup.
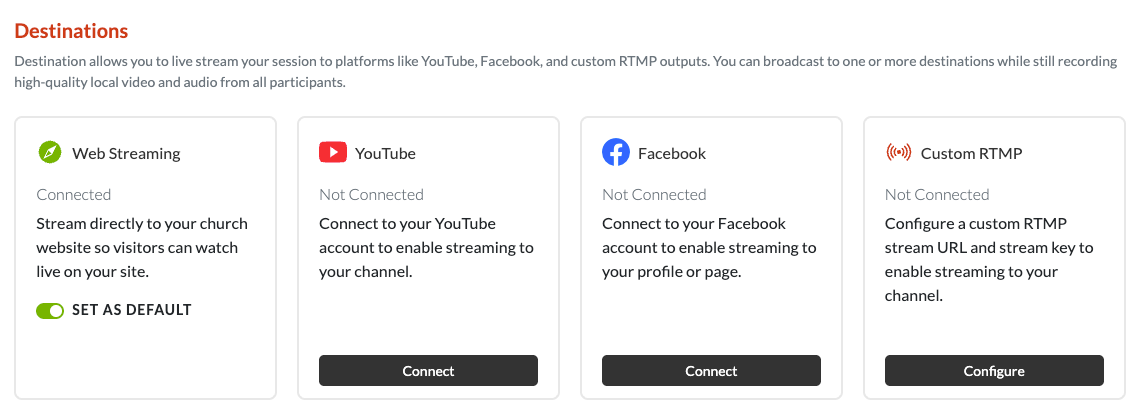
• Add at least one destination (e.g., YouTube or Facebook). All other settings on this tab are optional.
Step 1: Set Up Your Stream
You have two ways to set up a stream:
• Schedule — plan a stream for later (a few minutes, hours, or any future date/time).
• Studio — go directly into the Studio tab to start right away. The remainder of this article covers going directly to the Studio tab.
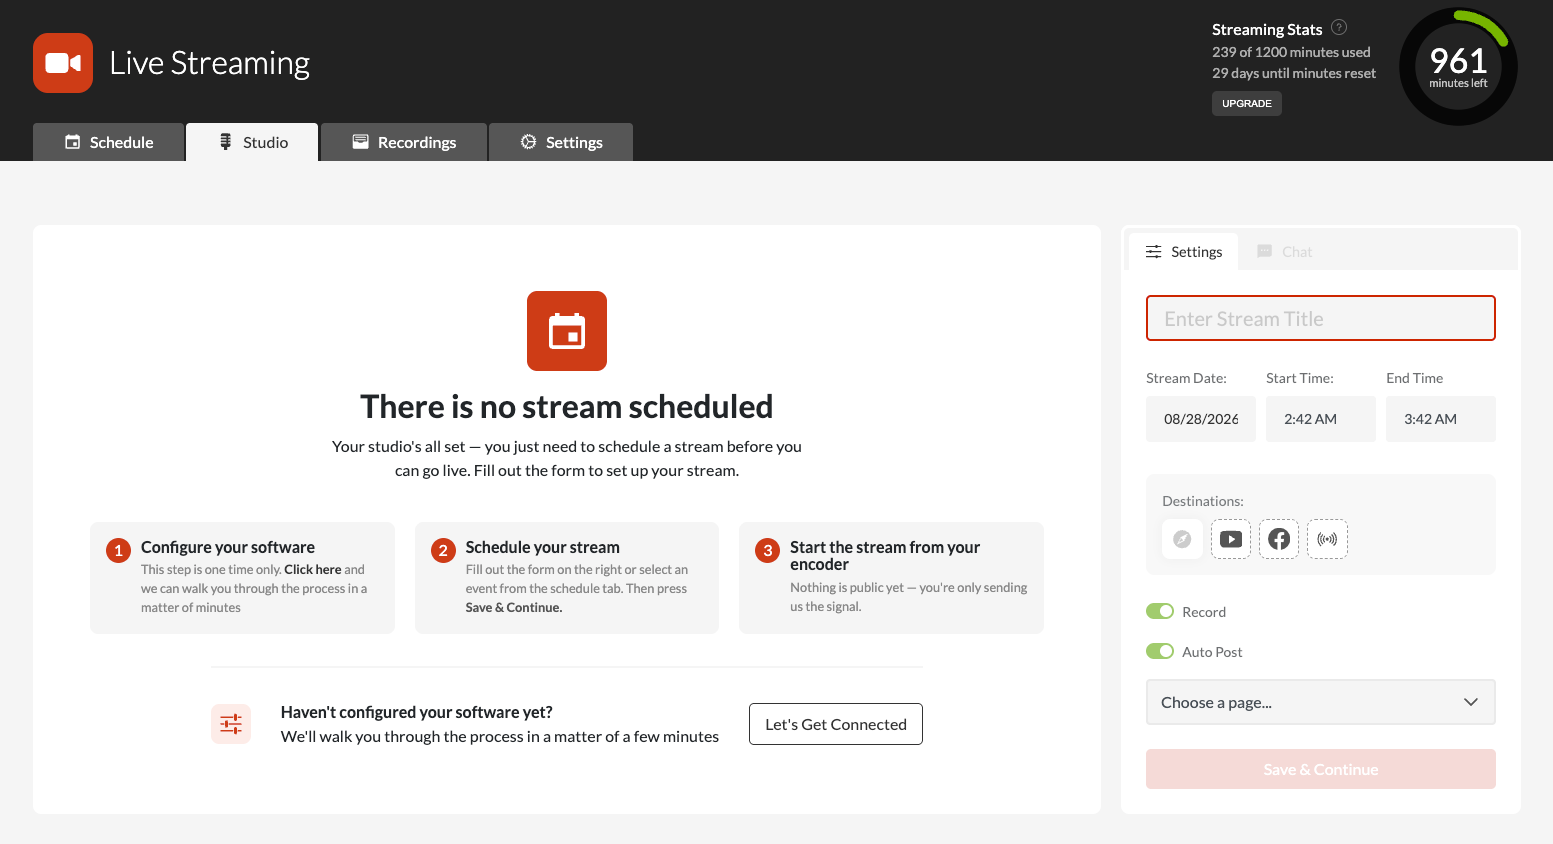
In the Studio tab:
1. Enter a stream title.
2. Set the start time and end time.
4. Choose at least one destination (other toggles are optional)
5. Click Save and Continue.
Step 2: Connect OBS
1. Open OBS on your computer.
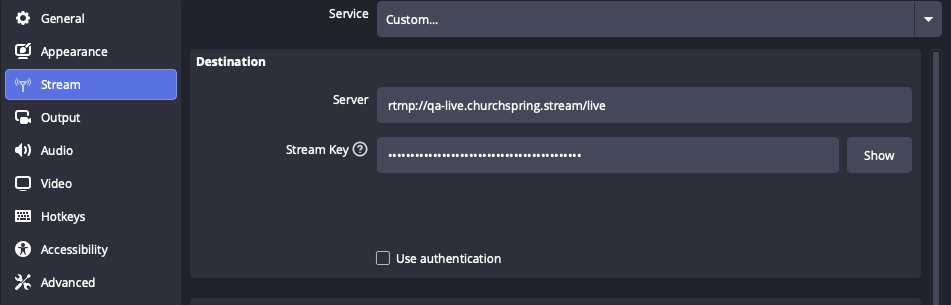
2. In OBS's stream settings, enter the RTMP Server URL and Stream Key exactly as shown in the Studio tab or Settings Tab: Connection — these must match.
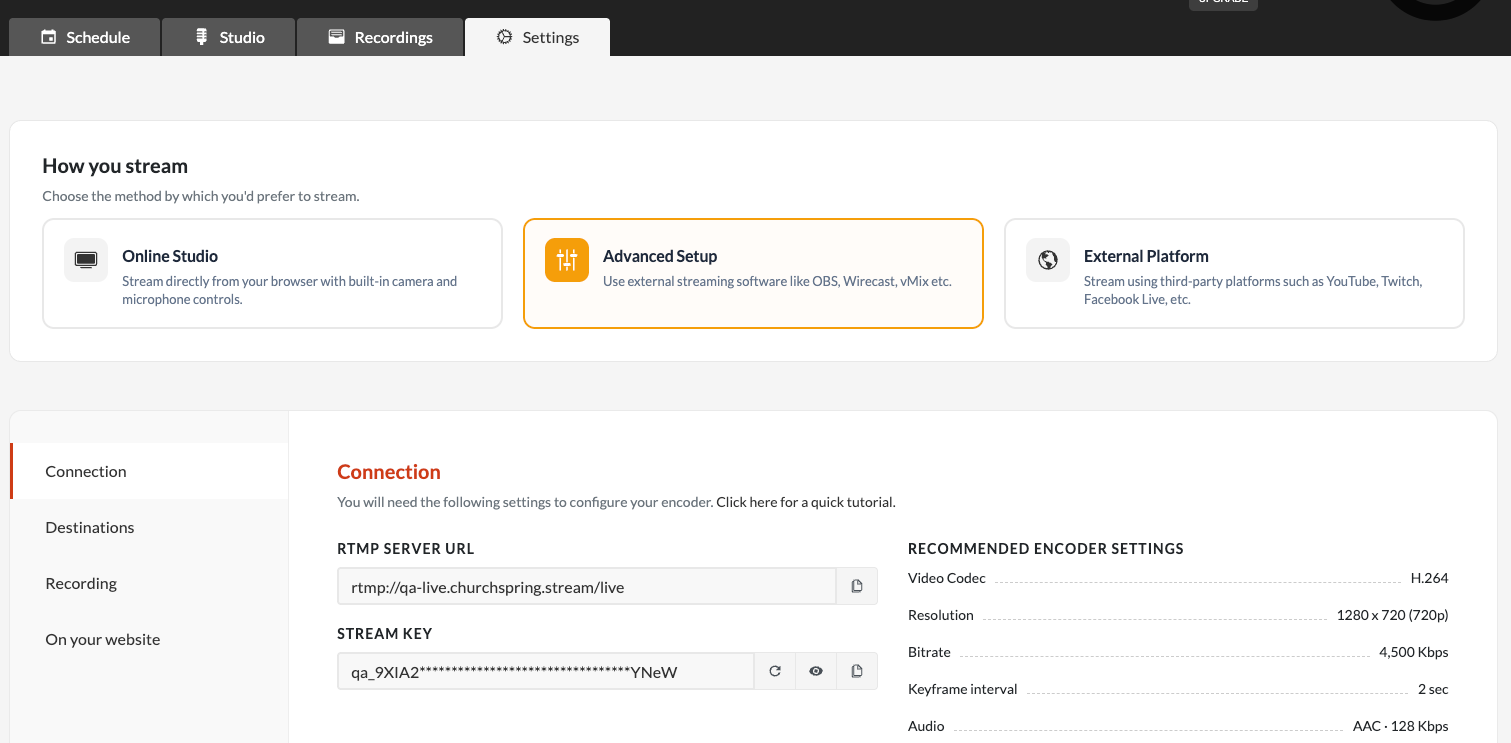
3. Click Start Streaming in OBS.
Confirm: Once OBS connects, the Studio tab will show a “Now Streaming” badge.
Step 3: Verify Your Live
• Schedule tab — the event you're streaming will show a flickering “Live” badge.
• Destination — open the destination account you selected (e.g. YouTube) and confirm the stream is showing there as live.
Step 4: End the Stream
1. Click Stop Streaming in OBS.
2. In the website, wait a few seconds for the stream to close out.
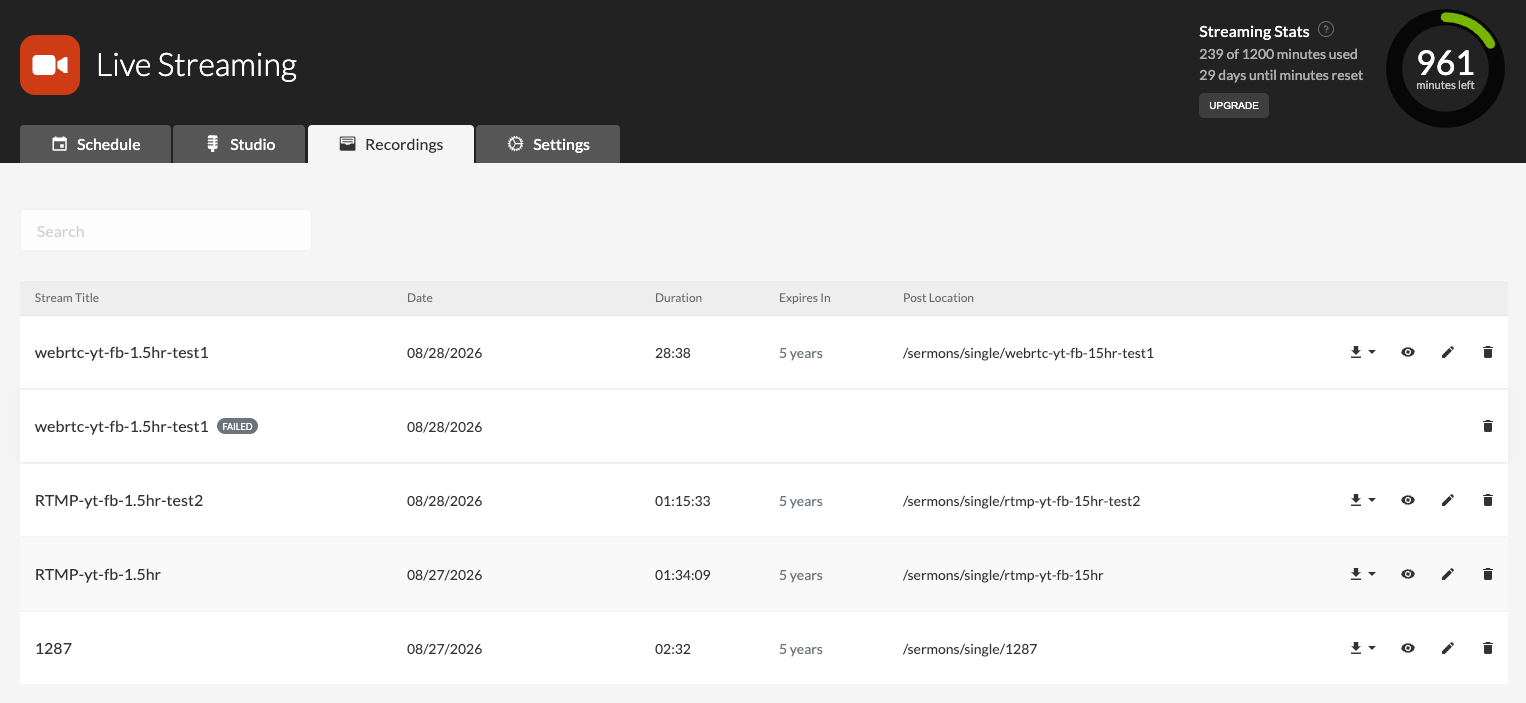
3. You'll be redirected automatically to the Recordings tab, where the event you just ended will appear only if you’ve chosen to record your stream.
Questions? Schedule a Zoom call with our team by clicking here so that we can best help you with your setup!