How To Setup the Social Scheduler
Do you find it a hassle to post your ministry event, blog article, or even sermon to your social media channels? We feel your pain - that’s why our team created the Social Scheduler for our Flourish Plan members. This feature will allow you to post to Facebook or Twitter without ever leaving your ChurchSpring website! Follow the steps below to set up your Social Scheduler.
WHERE DO I START?
Before you can start posting, you will need to link your Facebook or Twitter account in the Settings of your website. You can do that by following these steps:
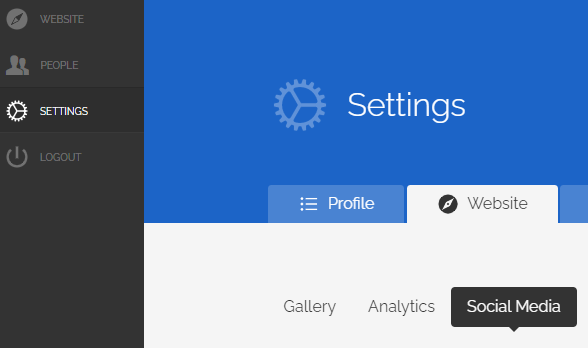
1. Log in to your site and click on "Settings"
2. Once you are in Settings, click on the “Website” tab
3. Within the Website tab, you will see the “Social Media” category.
HOW DO I SET UP MY SOCIAL SCHEDULER?
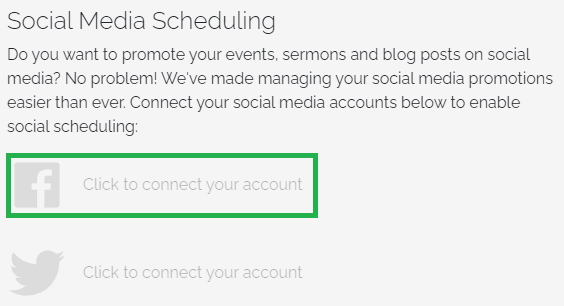
Setting up your Social Scheduling feature is as easy as following the prompts. If a personal social media account (that is not being connected to the social scheduler) is active on your computer, you will want to log out of that account. For this tutorial, we will follow the Facebook setup.
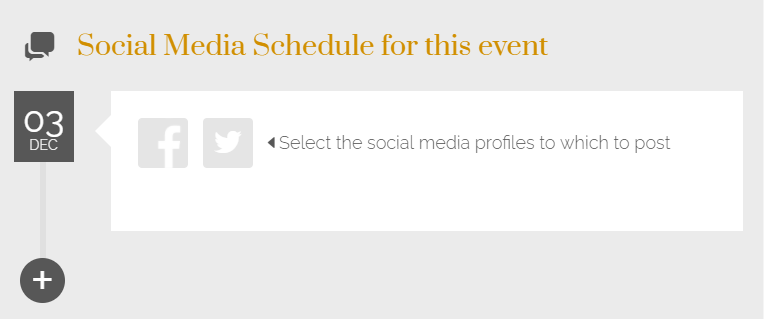
1. Click on the Facebook option for connection.
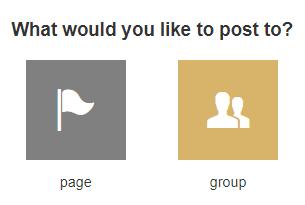
4. Even if your ministry has multiple Facebook pages (or groups), you will only be able to select one to send your posts to from your ChurchSpring website. We recommend that you choose your main ministry page.


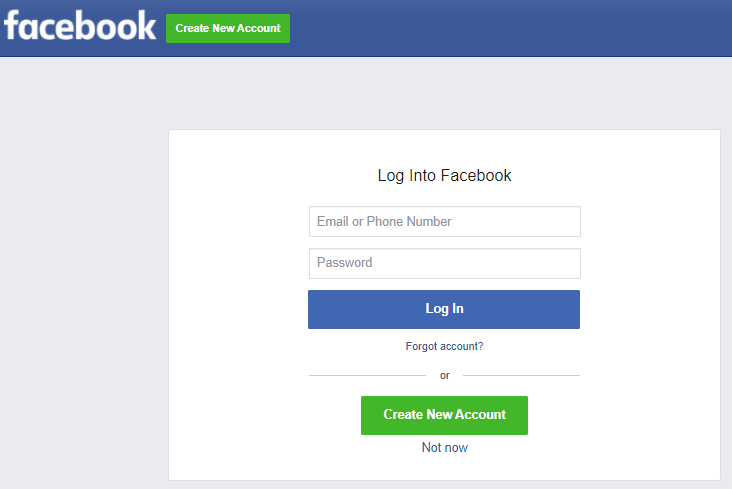
7. Click on the platform that you want to post on - we are using Facebook for this tutorial.
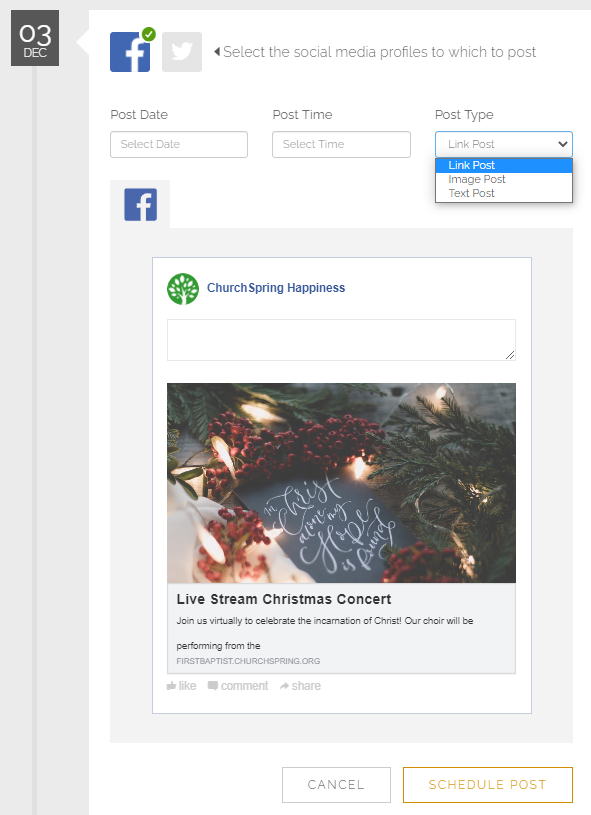
8. Follow the prompts and enter your desired posting date and time. You will also need to choose what kind of post you want to create…
- Link - this post will have a place where the Facebook viewer can click and be taken to this event on your website.
- Image - selecting this option will only allow the image to be posted to your Facebook page. This is great if your image contains text.
- Text - no image will be posted when you select “Text”
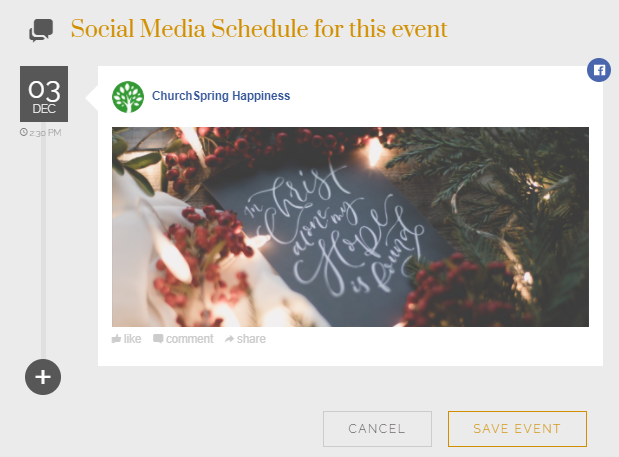
9. Once you have completed these steps, just click SAVE to finish!
Congrats! You have successfully created your social media post - without leaving your website!
FAQS & TROUBLESHOOTING
- Help! Why are my posts not posting to Facebook? Here are a few troubleshooting tips if you are having a Social Scheduler issue:
- Clear your browser cache
- Set up your Facebook account Social Scheduler again in your website "Settings" > website > social media tab -- NOTE: Be sure that you are selecting the correct Group
- See if you can then continue the set-up process and schedule posts (in advance) to your Group.
If that does NOT work, please follow these steps:
- Please REMOVE ChurchSpring from your Facebook Business Integration on facebook.com. If you need help with that, please reach out to our support team.
- Clear your browser cache again.
- Try to connect your Facebook account again to your website Social Scheduler.
- It looks like Facebook wants me to pay for advertising. Is this necessary? Facebook offers to "Boost" your post for you, but you do not have to follow that prompt to add your event to Facebook.
- I linked our church Facebook account in settings, but when I add events, there's no option to schedule social posts. Am I doing something wrong? You may have an ad blocker on in your browser or computer settings. Turn any ad blockers off before using the Social Scheduler.